How to Write in Cursive — Complete Beginner Guide
Learn how to write in cursive step by step: basic strokes, lowercase and uppercase letters, connecting words, and free printable worksheets.
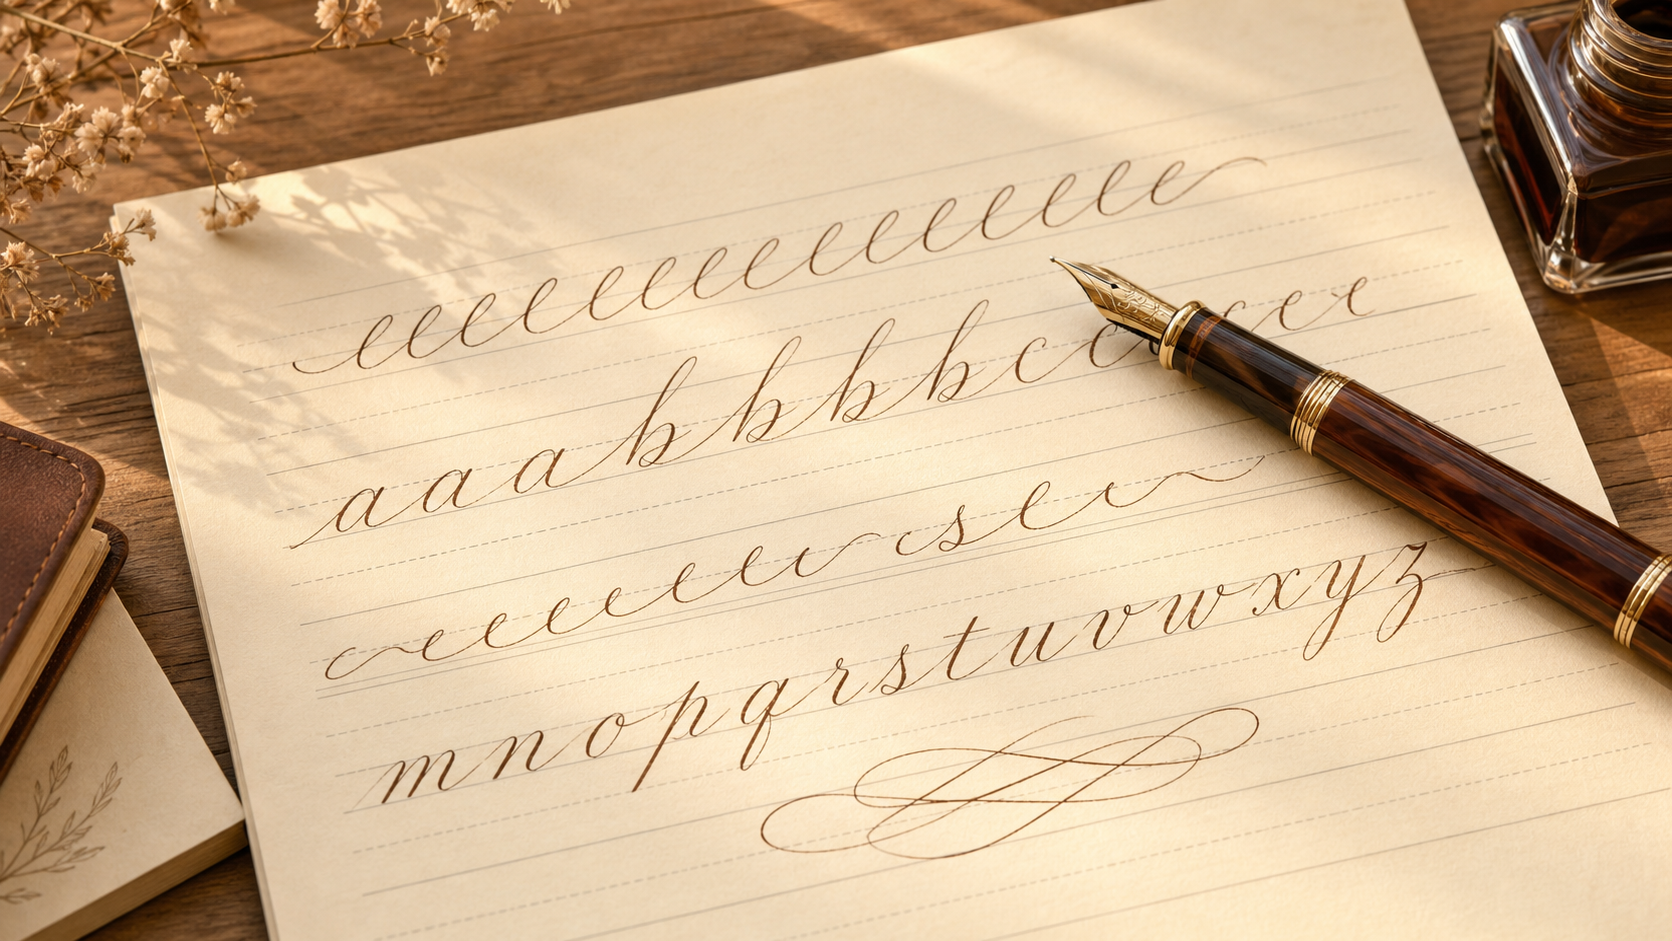
Many adults want to learn — or re-learn — how to write in cursive, but most online guides jump straight to the alphabet without explaining why letters are shaped the way they are. This guide walks you through the fundamentals so you can build muscle memory instead of copying random letter pictures.
Why Learn Cursive in 2026?
Cursive is still taught in many schools, but plenty of adults never mastered it — or forgot after years of typing. Learning cursive today helps you:
- Sign documents with a confident, personal signature
- Read historical letters, family notes, and older homework
- Write faster once letters connect smoothly
- Improve fine motor control through deliberate practice
You do not need expensive workbooks. A pen, lined paper, and 15 minutes a day are enough to see progress within a few weeks.
How do you write in cursive step by step
Use this beginner sequence whenever you ask how do you write in cursive:
- Warm up the five basic strokes — undercurve, overcurve, upstroke, oval, and connector (detailed in the next section).
- Learn lowercase groups first — similar shapes together (for example oval letters, then tall letters) so your hand repeats the same motion.
- Add uppercase letters — capitals are larger and often do not connect; treat them as separate entry strokes.
- Connect into short words — keep a light forward slant and exit each letter on the baseline.
- Print and trace — open the cursive worksheet generator or cursive tracing generator for dotted practice, then rewrite without tracing.
If you only need one confusing letter (especially Q), jump to the cursive Q how-to or the matching letter guide. For capitals A–Z, use the cursive capital letters guide.
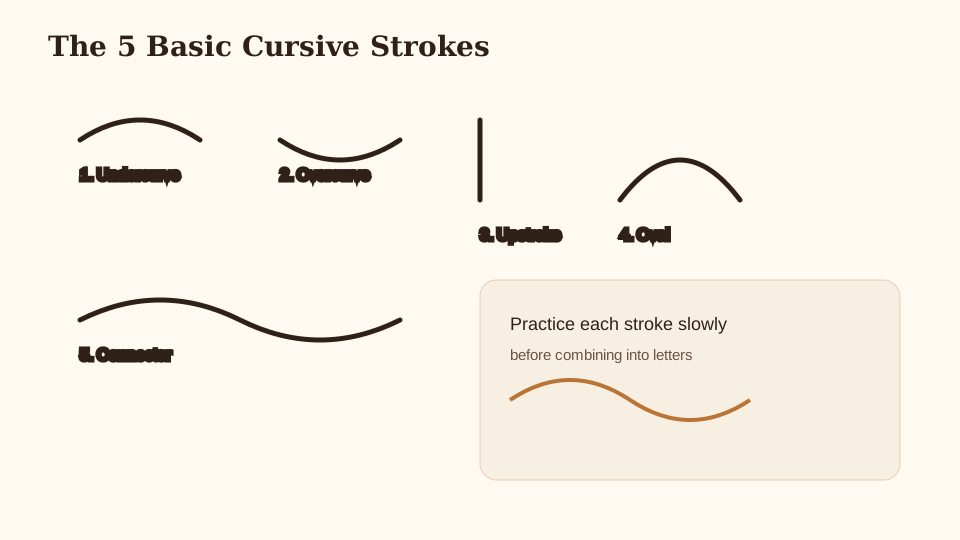
The 5 Basic Strokes of Cursive
Every cursive letter is built from a small set of strokes. Master these first:
- Undercurve — a shallow upward curve (used in letters like i and t)
- Overcurve — a downward curve that opens toward the right
- Upstroke — a light vertical line rising from the baseline
- Oval — a counterclockwise loop (foundation of a, c, d, g, o)
- Connector — the horizontal exit stroke that links one letter to the next
Practice each stroke alone for two or three minutes before combining them. Slow, controlled movement beats fast sloppy loops.
Lowercase Letters in Cursive
Lowercase letters are the backbone of connected cursive writing. Group them by shape instead of memorizing A–Z in order:
Oval family (a, c, d, g, o)
Start with a counterclockwise oval on the baseline, then add the finishing stroke. Letters a, c, and o do not connect from the previous letter on the left — they start fresh.
Loop family (b, f, h, k, l)
These letters rise above the midline with a tall loop or ascender. Keep loops open enough to read at a glance.
Hump family (m, n, u, v, w, x, y, z)
Rounded humps that connect forward. m and n use multiple humps; u and w use a single continuous motion.

To see how each letter is written in multiple script styles, open our free cursive alphabet chart generator — it shows uppercase and lowercase side by side.
Struggling with a specific letter? If cursive Q confuses you (it often looks like the number 2), read our dedicated cursive Q how-to guide.
Uppercase Letters in Cursive
Capital cursive letters are usually larger, more decorative, and do not connect to the following lowercase letter the way mid-word letters do. They serve as word starters and proper nouns.
For a full A–Z breakdown, see our guide on how to write cursive capital letters.
Connecting Letters into Words
Cursive speed comes from connection. Follow these rules:
- Exit each letter on the baseline toward the next letter
- Lift your pen only when a letter naturally breaks (after b, o, v, w, and most capitals)
- Keep spacing even — crowded loops become unreadable
- Practice common pairs first: th, in, er, on, an
Type a word in our cursive word generator to compare how the same word looks across different script fonts before you write it by hand.
Practice with Free Printable Worksheets
Reading about cursive is not enough — your hand needs repetition. Our tools make practice immediate:
Free Cursive Worksheet Generator
Type any word or name and download a printable practice worksheet with traceable cursive lines. No sign-up required.
Open free tool →You can also print a practice worksheet for individual letters, names, or short sentences. Print several copies and trace lightly with pencil before writing in pen.
For name-specific tracing, try the cursive name tracing generator — ideal for children learning to write their own name.
Common Mistakes Beginners Make
- Gripping the pen too tightly — relax your hand; cursive flows from the wrist and fingers together
- Skipping basic strokes — jumping to full words before strokes are automatic leads to inconsistent letterforms
- Making loops too small — tight loops blur together when you write quickly
- Inconsistent slant — pick a slight forward slant (about 15–20°) and keep it uniform
- Practicing only one letter — rotate through letter groups so every stroke gets attention
Frequently Asked Questions
How do I start writing in cursive as a beginner?
Start with the five basic strokes for a few minutes, then practice one lowercase letter group before full words. Keep sessions short (about 15 minutes), use lined paper, and print a free cursive worksheet so you can trace first and rewrite second. Adults can follow the same path—muscle memory, not age, is the limiter.
How long does it take to learn cursive?
Most beginners see readable results in 2–4 weeks of daily 15-minute practice. Fluency with connected words may take 1–3 months depending on prior handwriting experience.
Is cursive the same as calligraphy?
No. Cursive is everyday connected handwriting meant for speed. Calligraphy is a decorative art form with intentional thick-thin strokes. Use our cursive calligraphy generator if you need formal wedding-style script instead.
Can I learn cursive as an adult?
Absolutely. Adults often progress faster because they already understand letter shapes — they only need to retrain muscle memory for connections and slant.
What pen should I use?
A medium ballpoint or gel pen on lined paper works well for beginners. Avoid very fine tips until your letterforms are consistent.
Where can I see all 26 letters at once?
Visit the cursive alphabet generator for a full uppercase and lowercase chart you can reference while practicing.
Related Guides
- How to Write Cursive Q — step-by-step for the trickiest letter
- Cursive Capital Letters A–Z — uppercase focus
- Cursive Writing Practice Tool — generate sentences to copy
To apply these letterforms to your own words, open the free cursive generator — no sign-up and nothing to install.